Execute Assessments
Objective: Gain an understanding of how to execute assessments.
Once the Assessment Forms are ready, the next step is to carry out the Assessment on Assets that the Tasks are assigned to. An Assessment can be assessed any number of times.
Data can be uploaded into custom Forms in three ways:
-
Data upload through Cloud application
-
Data upload through Mobile application
-
Data upload through Data exchange
Data Upload through Cloud Application
In this method, Assessment Tasks are opened in the cloud platform.
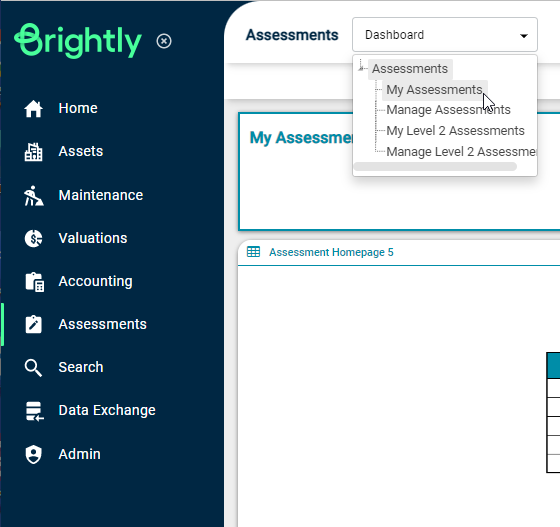
From the Navigation Sidebar, select 'Assessments' and in the Navigation Dropdown, select 'My Assessments'.
If users have only the 'Assessment Officer' role they will not have access to the 'Manage Assessments' tab.
The following screen will appear; then select the 'Tasks' tab below the Navigation Dropdown.

All Tasks assigned to the user will appear as follows:

The Task ID can be seen in the Assessment Tasks grid. Each Task can have 1 or more forms, and each Form can be assessed 0 or more times.
Forms can have an Assessment order, where users cannot complete the Forms with a higher order number until the previous Forms are completed.
Click on the 'Task ID' of the Asset that needs to be assessed.
The following pop up screen will appear:

Click on 'Required Forms' and all forms associated with the project will appear:
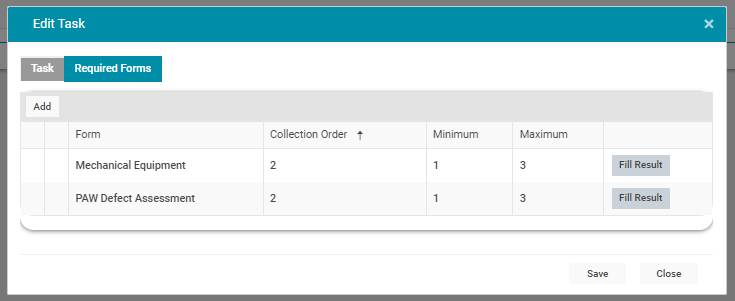
Click the 'Fill Results' button against the Form on which the user needs to fill data in. The Form will open. (By clicking 'View Results' next to 'Fill Result' button, the user will be able to view already existing assessment results against the assessment task)
An example of 'Mechanical Equipment Assessment' Form is shown below:
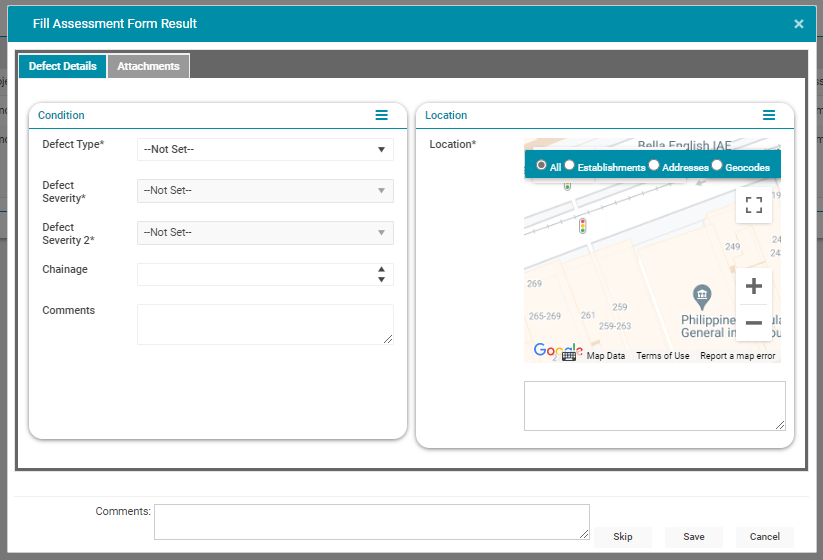
Fill the Form with relevant information.
Save data by clicking the 'Save' button on the bottom of the window. Users can skip filling the form by clicking the 'Skip' button, if the minimum number of form results is set to 0. If the minimum is set to a number greater than zero, the form will not be skippable.
Once a result is saved, the following pop-up screen will appear:
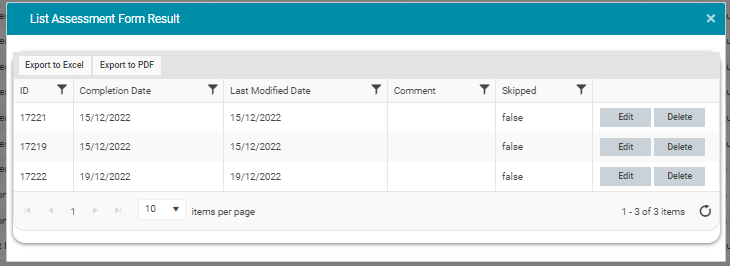
It shows all Assessment results that are currently available for that Assessment Task.
To edit or view any results, click the 'Edit' button. To delete a result, click the 'Delete' button.
Use the close button on the top right corner to return to the view listing all Forms linked to that Task.
Data Upload Through Mobile Application
The Assessment Tasks are created and assigned to an assessor. When that user logs into the Brightly Assetic Mobility application, the mobile application refreshes automatically and caches the data. The user need not manually click on the 'Validate Cache' button from the Settings menu on the home screen to view these Assessments in the agenda.
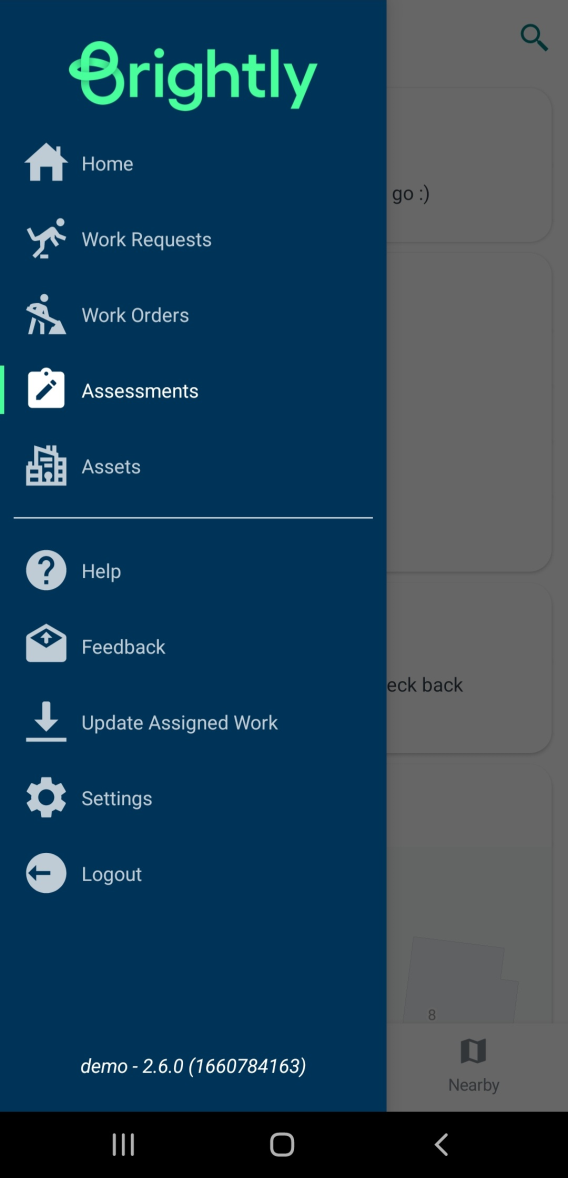
Or alternatively, the user can manually view the assessments from 'Assessments' from the Navigation Sidebar.
Once the assessor fills in the Form, the following options are available:
-
Save Form: Saves locally and doesn't sync to cloud, and the Form is still editable until synced.
-
Save and Sync: Saves locally and syncs to cloud immediately; the Form is then locked.
After all the Forms have met their Assessment requirements (0 or more, as specified in the Task), the Assessment Task must be manually ticked to be completed. Doing this will also sync any Forms saved locally.
Data Upload Through Data Exchange
Assessment result data can be bulk uploaded to Assessment Tasks through Data Exchange. This may be required where an organization receives data from a third party or data might be collected using a special device (example: road condition inspection data collected by laser cameras mounted in high-speed vehicles or traffic count data) and this data needs to be uploaded.
Assessment results can only be bulk uploaded to a single form in one instance. If multiple Forms are linked to an Assessment Task, importing needs to be done separately for each Form by using the Task ID as a unique identifier.
Data Import File Preparation
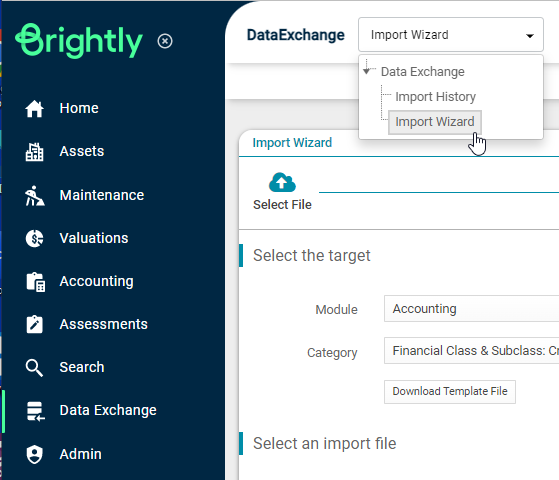
To download the data import template file for a Form, go to 'Data Exchange' in Navigation Sidebar and 'Import Wizard' in the Navigation Dropdown.
Select 'Assessment' from the module drop-down.
Click on the Category drop-down to view all available forms:
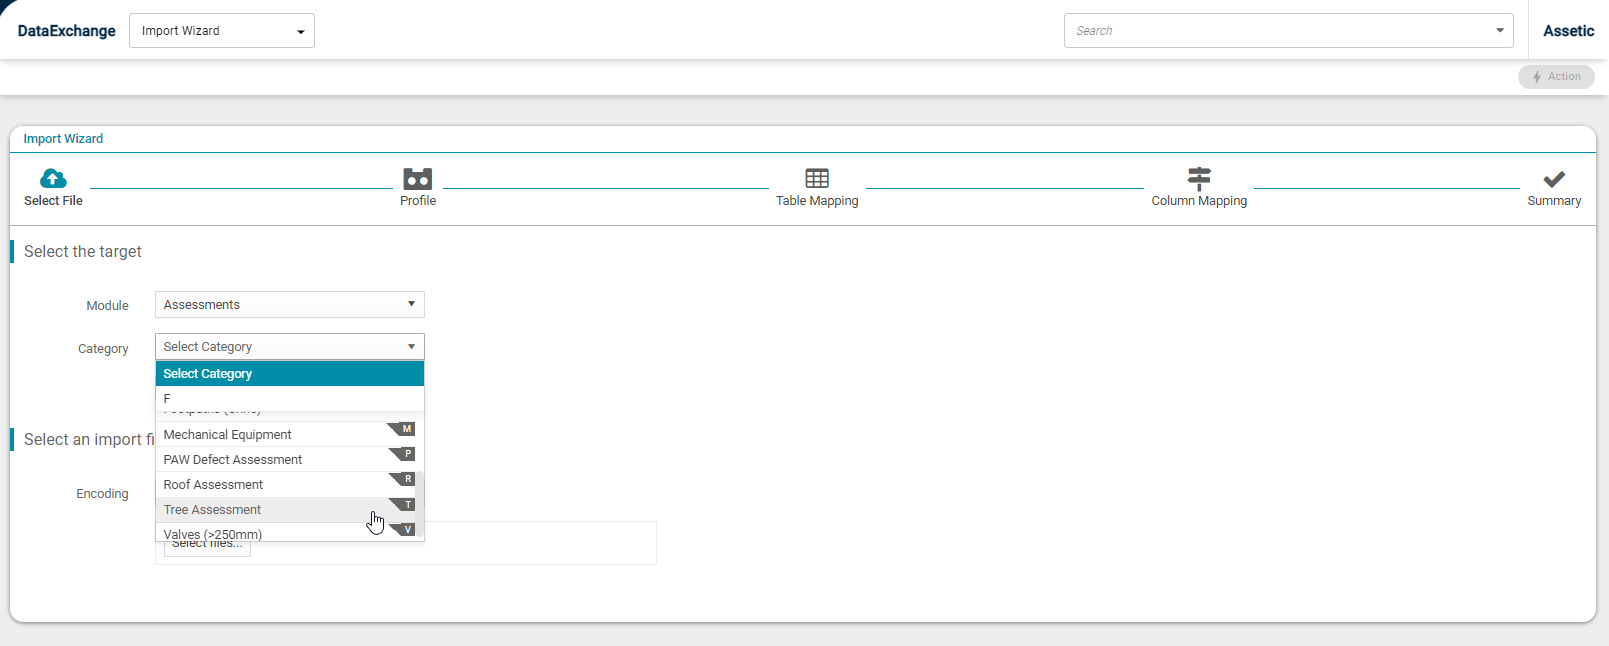
Select the Form that needs to be populated and click 'Download Template File' button and the import template will be downloaded as a .csv file.
For a full list of the available modules and form categories, refer to this article.
Fields in Data Exchange Template
For any custom form import template, there are a number of default fields included, in addition to the custom fields as defined by the form. These default fields are present in all custom form templates:
-
Asset Id: This is the asset id of the asset being assessed.
-
Project Id: This is the project id of the asset being assessed.
-
Form Assessed By: The name of the person who carried out the Assessment. The name should be the 'Display Name' of the user-provided under 'Resources'.
-
Form Result Completion Time: The time the assessor finished using a form when assessing data using the mobile app. In data exchange it is sufficient to provide only a date; the user can provide assessment date (same date provided in 'form start Time') in DD/MM/YYYY format.
-
Form Result Start Time: The time assessor started using a form when an assessment is carried out using the mobile app. In data exchange it is sufficient to provide only a date; the user can provide an assessment date in DD/MM/YYYY format.
-
Form Comments: Form comments is an option field for all forms. Users can use this field to add any comments.
-
Form Result Guid: This is the guid of the Form Result.
-
Form Result ID: This is the friendly ID of the Form Result.
-
Form Skipped: This a True/False field which specifies if the Form was skipped or not.
-
Task ID: This is the ID generated when creating an Assessment Task against an asset. After creating Assessment Tasks, the user should export out 'Task Id' using 'Advanced Search'. Please go through Reporting through Advanced Search for more details on this.
The other fields that appear in the data import templates are specific to the form that the user has downloaded.
Data Import Process
Once the data import file is prepared, the user can bulk upload data through the Data Exchange functionality.
From the Navigation Sidebar, select 'Data Exchange' and from the Navigation Dropdown, select 'Import Wizard'. Select 'Assessment' from the Module drop-down and select the Form to use from the Category drop-down.
Once the downloaded file is populated with all mandatory fields along with any required fields and is ready to use, click 'Select files' and upload this file to begin the data exchange process.
For more information on the specifics of the Data Exchange module, please see the remaining articles in the Data Exchange section.
